 Not long ago, we shared an article with you that focused on an audio system upgrade we completed on a San Francisco client’s 1996 Acura NSX. As part of that project, we molded a set of TB 872 tweeters from a Focal 165 W-RC component set into the vehicle’s A-pillars. In this article, we are going to share some of the behind-the-scenes processes that resulted in the amazing sound system the client is currently enjoying.
Acrylic Mounting Adapters
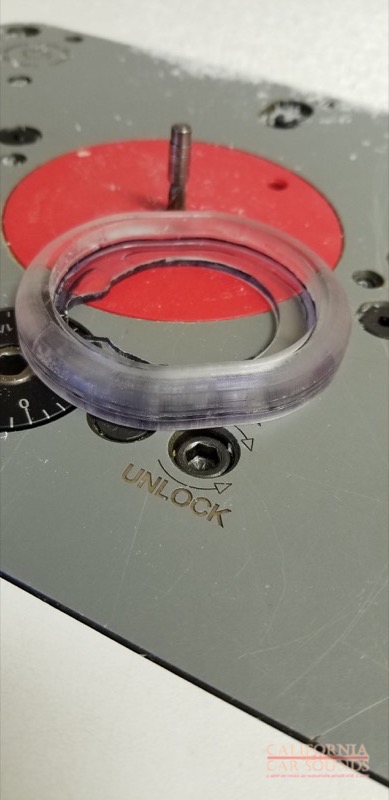
The project of integrating the Focal tweeters into the A-pillars started with the creation of a pair of acrylic mounting pods for the TB 872 tweeters. Our fabrication team layered three pieces of cast acrylic plastic for each of the mounts. A large radius was applied to the outer edge so that the pods would flow nicely into the pillars.
Using acrylic plastic instead of wood or even ABS offers excellent resistance to warping from heat and humidity. We can also drill and tap the mounting holes for the tweeters directly into the base to secure everything in place.
Tweeter Integration into the NSX A-Pillars
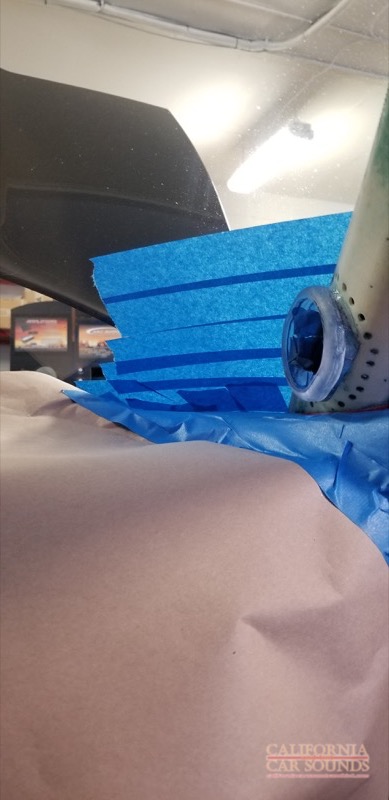
Once the pods were complete, we positioned them on the A-pillars, ensuring that the left and right units were identical. We used two-part epoxy to secure the pods to the plastic pillar frame, then drilled a series of holes around the pods to give the filler material we would use next something to adhere to.
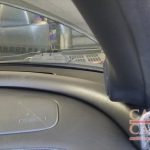
The last step in the fabrication process is to fill the area between the pod and the pillar. As you can see, we did this while the A-pillar trim pieces were in the vehicle to ensure that everything would have a perfect shape. We used a special resin and filler combination that sets up quickly and securely while remaining easy to sand.
Vinyl Wrapping and Tweeter Installation
After the surface was contoured and sanded smooth, the last step was to upholster the customized tweeter mounts for this Acura audio system. We applied an automotive-grade contact adhesive to the pillar and the pieces of high-stretch vinyl. Using a vinyl that will maintain its grain while stretching around the new complex shape is yet another trick of the trade that allows us to be efficient in creating custom installations like this.
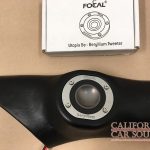
Finally, we wired up the tweeter and mounted it in place, using the hardware supplied with the kit. The unique hardware includes enlarged heads that allow the grille to attach directly to the tweeter.
San Jose’s Custom Car Audio Specialists
We hope you enjoyed this behind-the-scenes look at how we integrated these Focal tweeters into the Acura NSX audio system. If you are interested in similar work for your vehicle, drop by California Car Sounds and Tint in Campbell or send us an e-mail using our contact page.
Leave a Reply